For the last month or so, once a week, my little workshop has been humming with energy as a small group begins to learn some of the skills of instrument making, by beginning with a tenor ukulele.
It is such a joy to stand in the room and see five vises holding selected pieces of timber, and particularly to hear multiple bench and block planes cutting ribbons -and giving that sweet pleasure that not so many folk are privy to anymore. I had forgotten what a pleasure a busy studio could be.
Now if there is interest, I will blog some of their progress here, but the reason I mention the group is that the presence of a workshop full of enthusiasts has caused me to me weaken (at a local Sunday market at a second hand tool stall) and buy another bench plane, with the excuse that all my stuff is getting used simultaneously...so I need more stuff. Last week I had three block planes, and #3, # 4, and # 5 all in constant service. At that stage my # 6 was waiting for a refit and # 7 was needing a sharpen. (They all seem to have favourites, but they are flexible enough to try whatever is offered for a specific task.)
So I bought a (barely) used Australian made Stanley #4 Bailey plane at the market. I thought maybe that the process of making it workable might be of interest to a reader who is reluctant, so far, to tune an old plane...


First, I should say that the Bailey type of plane is not a great type of tool, meaning it is not an exceptional piece of equipment. However, I like the honest, working nature of them, the humble commercial product that seeks to do a simple job economically and well, especially since they are so easy to transform into really beautiful things to use- without the bells and whistles and snob value of something like a Norris. Tools needn't be glamorous, just serviceable and stout.
In fact the Bailey designs were drawn to make plane manufacture more economical, not to improve performance. This was in Massachusetts and the designer was Leonard Bailey, who was in a position to use recent improvements in steel production to 'power' his ideas. He sold his patent rights to Stanley Rule and Level in the 1870's, and they were made and marketed in several countries since. I have planes made to this pattern from three countries, and all are trustworthy tools.

When finally I had this one on the bench at home it was pretty obvious to me that this was $25 very well spent. It looked quite sad on the market bench, but I knew I could make it look happy because the important bits were in good order. Above, the varnish on the totes was nearly falling off, with shrinkage striations that made them look tired and dry. They are not unpleasant lines though, so I decided to remove only the loose stuff and let the patina shine through some new varnish.

The adjuster mechanism was brilliant, with very little play in it, so adjustment will be easier than it is on most planes.

The base still carries the scars from planing a painted door or some such odd job, attempted without a sharp blade or any respect at all for the tool. This doesn't worry me because all rescued tools seem to need their bottoms flattened. The blade has never been sharpened since purchase- and this is the story for nearly every old plane I've seen at markets and stalls. They have been bought with the best of intentions, but without the knowledge that sharpening is necessary before use, so they wither on a shelf somewhere until they become part of a down-sizing, or a deceased estate. Of the rare ones that have been 'sharpened' most are horribly rounded and uneven; certain to cause anger and frustration. Do one of these a favour. Rescue it and give it a life. They all deserve it!
There is the customary rust on the exposed part of the blade, but the working end has been kept dry by the rest of the detritus on the shelf upon which it hid. This rust is the sort that comes from workshop dust which absorbs atmospheric moisture, and just sits and brews. It isn't deep and the working end is not pitted on it's back, only chipped on the bevel. Pitting on the back of the iron at the sharp end can be serious because it makes a durable sharp edge impossible without grinding the necessary length off the blade. They are only hardened for part of their length. A microscopically smooth back is the first step to real sharpness, never mind the bevel! (to begin with anyway...)


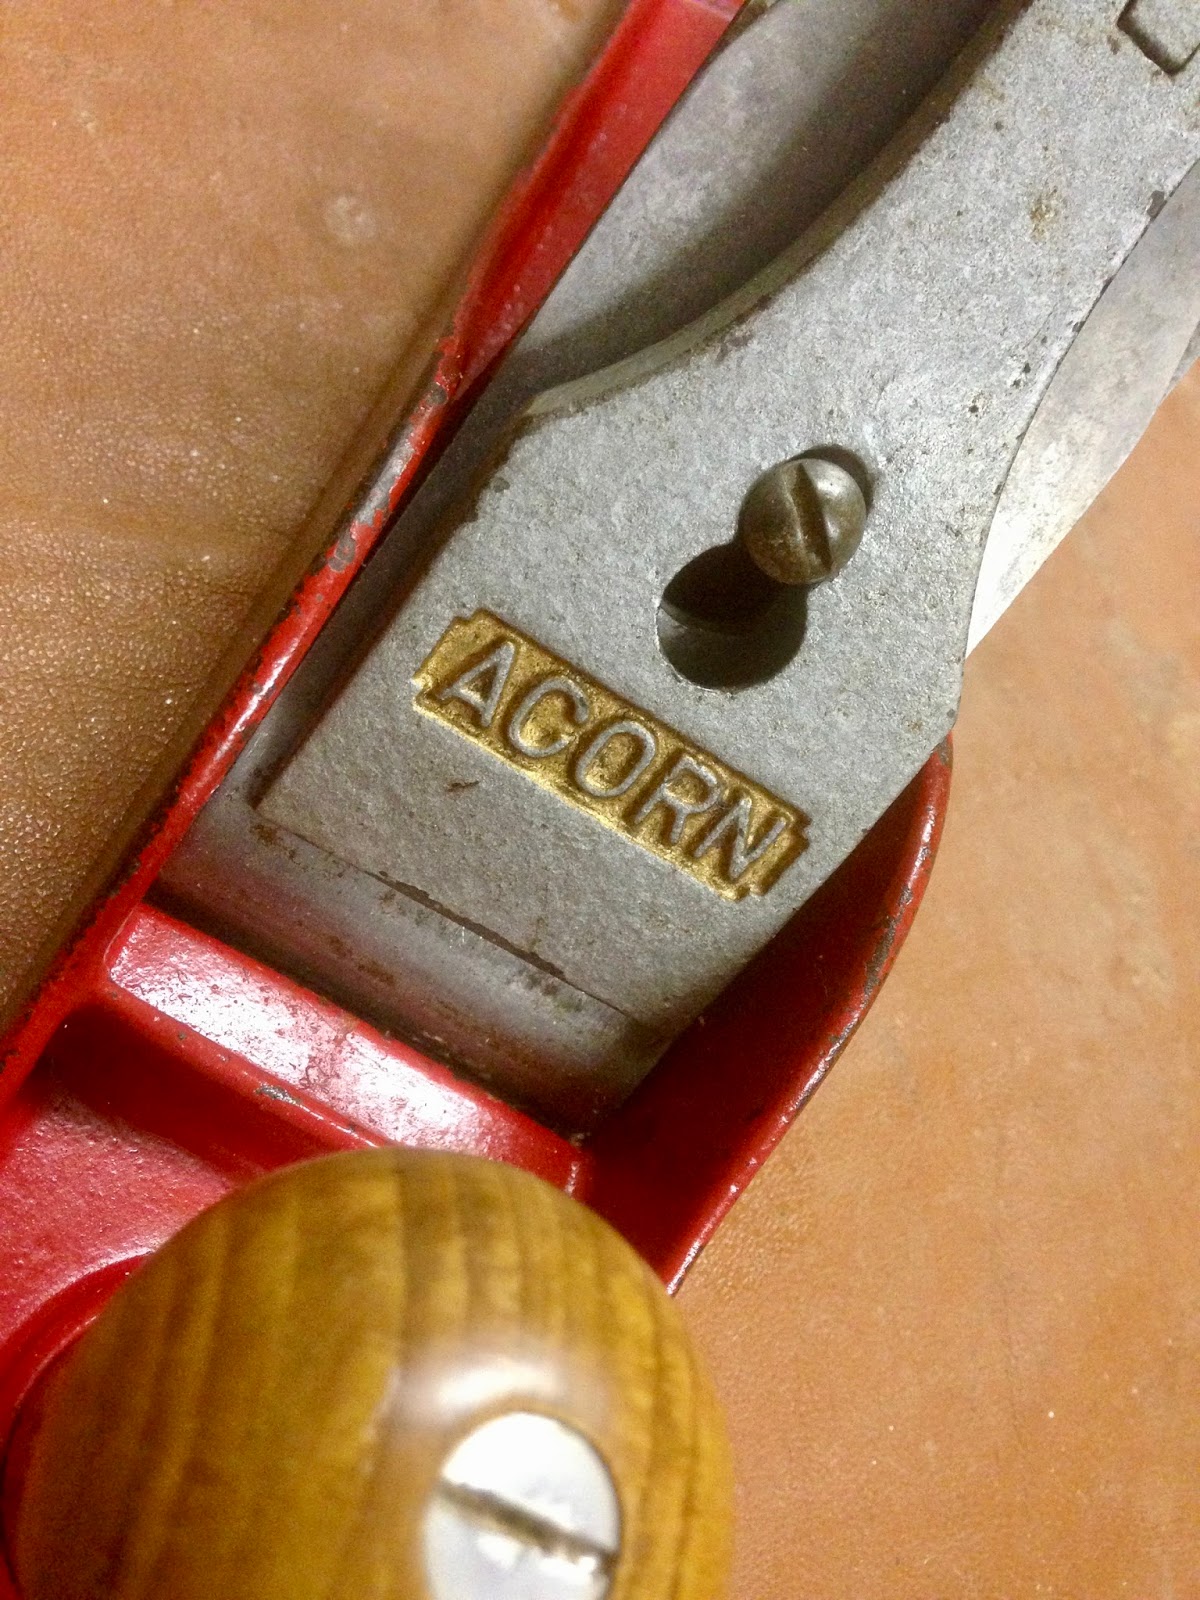
The frog is OK, but needs a small adjustment, and that is easy. The blade needs to be supported as low as possible to prevent 'chatter', so the frog should be positioned flush with the slot (presuming the slot is accurately cast). The two holding screws shown need loosening and then the adjusting screw (which is behind the frog inside the area of the blade adjuster) is turned to bring the frog forward or backward as necessary.


Devilish hard to hold a straight edge to a plane in front of a light source while photographing, at least without a tripod. But this one shows the lack of flatness on the sole or base of the tool. In fact this is the flattest of all the planes I've tuned over the years and that includes dozens of units from England and USA and Australia. This one is Australian, so it was cheaper than comparable English or American planes (we have a cultural cringe here, always fearing that we aren't good enough) but the flatness of this was brilliant. Most tools I find are high at the ends, where the casting has shrunk less than the rest, under the thickening at the the totes. This one has a high spot near the middle and a slight rise at the ends, but will be easily sorted.
So the restoration began by removing the handles, sanding them by hand (180) to remove loose varnish, and then giving them three coats of varnish. If it had been necessary to remove all the old varnish I may have been tempted to oil them, but these are working handles, not fashion statements, so I chose to allow the totes to hold some of the patina of age. I used a satin varnish rather than gloss.

Removing any rust is best done after a bit of a scrub with fine (000) steel wool to remove loose stuff, but if you are using a 'rust converter' product like I did on this one, it is best to leave some rust on before coating or the conversion won't work. Badly rusted items can also be treated in a bath of vinegar with amazing results. I like the rust converter on the brass parts too, it cleans them nicely and emphasises the colour of the copper within the brass. I leave them un-polished.

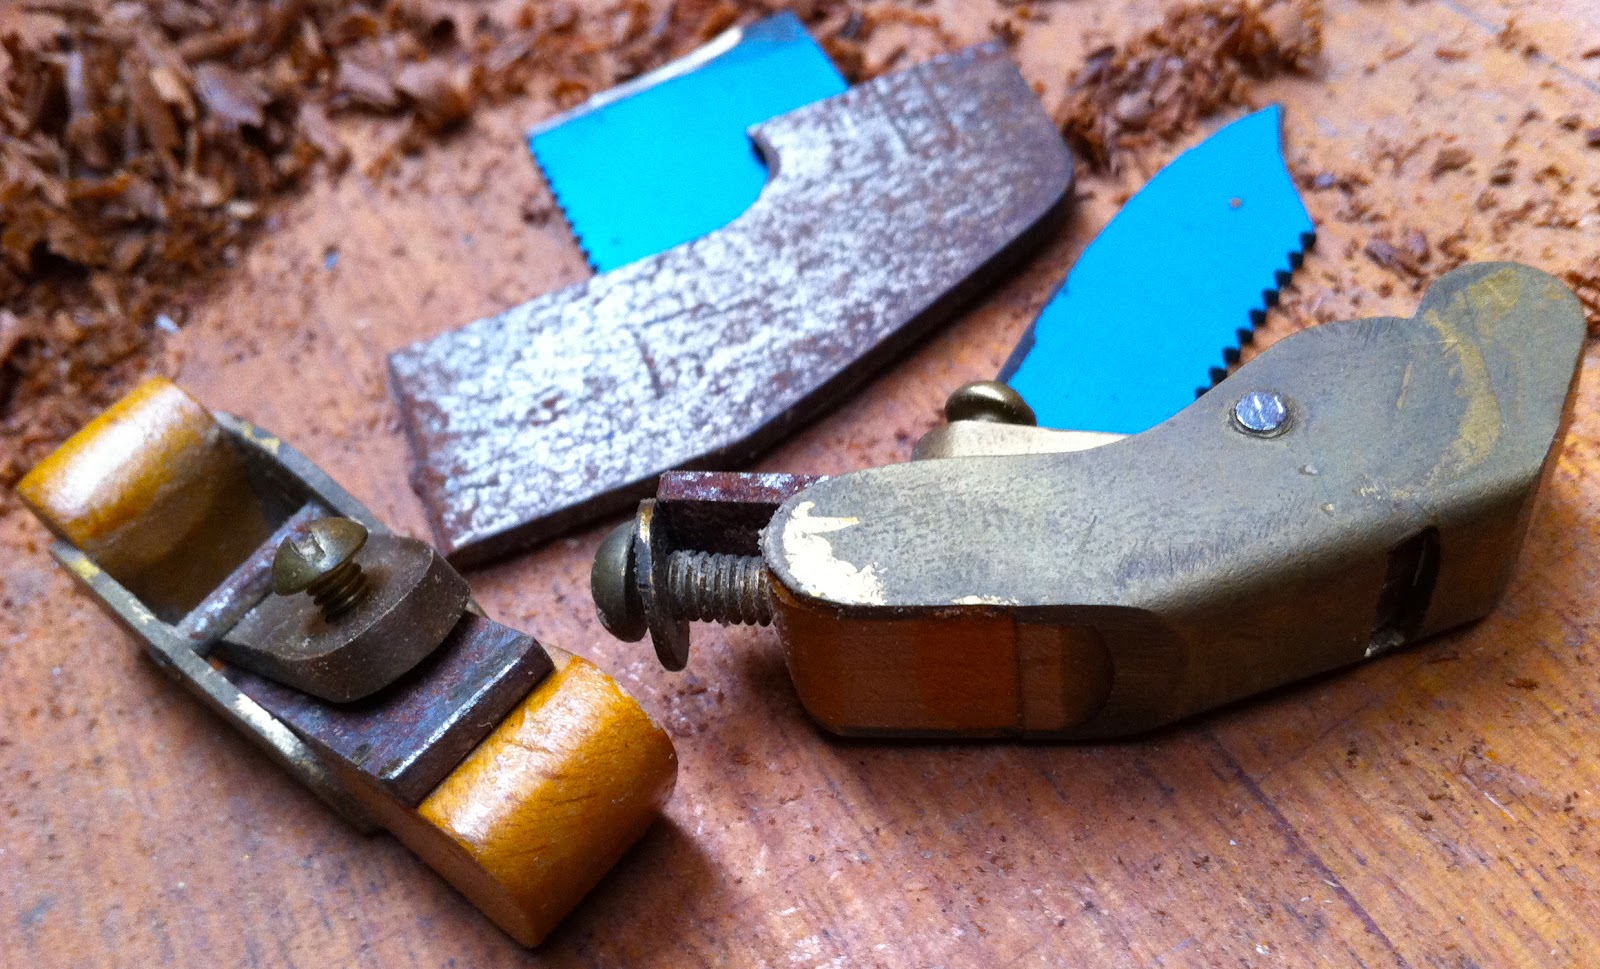
Above, a dip in rust converter for the brass bits. Below, irons coated in the same stuff. Eventually the brown bits go grey and change their chemistry.

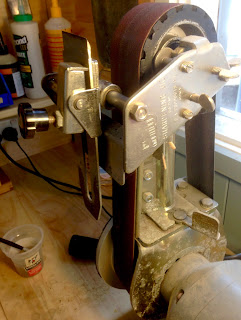
Above, my Abbot and Ashby linishing attachment for a grinder. The blade is held by a slide on pivot, so the blade can be offered to the belt from side to side without altering the angle. A small container of water and a brush is essential to stop the tip from overheating, turning blue and ruining your day.
Below, after a short grind, the depth of the damage to the blade edge became apparent. The grind will need to take off everything beyond the deepest chip. Note the concave grind shape from the wheel. It allows a secondary bevel to be added to the tip with a honing guide, and this will be a narrow flat band which is easily re-honed without having to take off a lot of material.


Sharpening in general probably needs a separate post, although there are some annotated pics about honing on the Metung Violin Maker's Workshop Facebook page.
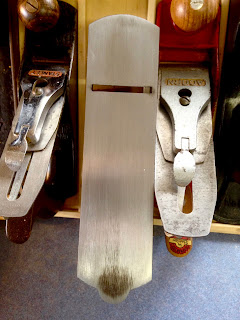
Above and below, I discovered some time ago, that the platen on my linisher/sander was actually remarkably flat, and I have been able to use it on plane soles with as much success as I used to have on glass with W&D, but of course much faster. The pic above shows the surface nearly done except for that little area under the rear tote. That would be good enough for most jobs because of the flatness extending to the edge of the rear back, or the surface could be worked for longer to get it just right.

The first ribbon cut with the assembled plane is probably the only good ribbon it has ever cut, and will be the first of many.

It is such a joy to stand in the room and see five vises holding selected pieces of timber, and particularly to hear multiple bench and block planes cutting ribbons -and giving that sweet pleasure that not so many folk are privy to anymore. I had forgotten what a pleasure a busy studio could be.
Now if there is interest, I will blog some of their progress here, but the reason I mention the group is that the presence of a workshop full of enthusiasts has caused me to me weaken (at a local Sunday market at a second hand tool stall) and buy another bench plane, with the excuse that all my stuff is getting used simultaneously...so I need more stuff. Last week I had three block planes, and #3, # 4, and # 5 all in constant service. At that stage my # 6 was waiting for a refit and # 7 was needing a sharpen. (They all seem to have favourites, but they are flexible enough to try whatever is offered for a specific task.)
So I bought a (barely) used Australian made Stanley #4 Bailey plane at the market. I thought maybe that the process of making it workable might be of interest to a reader who is reluctant, so far, to tune an old plane...


First, I should say that the Bailey type of plane is not a great type of tool, meaning it is not an exceptional piece of equipment. However, I like the honest, working nature of them, the humble commercial product that seeks to do a simple job economically and well, especially since they are so easy to transform into really beautiful things to use- without the bells and whistles and snob value of something like a Norris. Tools needn't be glamorous, just serviceable and stout.
In fact the Bailey designs were drawn to make plane manufacture more economical, not to improve performance. This was in Massachusetts and the designer was Leonard Bailey, who was in a position to use recent improvements in steel production to 'power' his ideas. He sold his patent rights to Stanley Rule and Level in the 1870's, and they were made and marketed in several countries since. I have planes made to this pattern from three countries, and all are trustworthy tools.

When finally I had this one on the bench at home it was pretty obvious to me that this was $25 very well spent. It looked quite sad on the market bench, but I knew I could make it look happy because the important bits were in good order. Above, the varnish on the totes was nearly falling off, with shrinkage striations that made them look tired and dry. They are not unpleasant lines though, so I decided to remove only the loose stuff and let the patina shine through some new varnish.

The adjuster mechanism was brilliant, with very little play in it, so adjustment will be easier than it is on most planes.

The base still carries the scars from planing a painted door or some such odd job, attempted without a sharp blade or any respect at all for the tool. This doesn't worry me because all rescued tools seem to need their bottoms flattened. The blade has never been sharpened since purchase- and this is the story for nearly every old plane I've seen at markets and stalls. They have been bought with the best of intentions, but without the knowledge that sharpening is necessary before use, so they wither on a shelf somewhere until they become part of a down-sizing, or a deceased estate. Of the rare ones that have been 'sharpened' most are horribly rounded and uneven; certain to cause anger and frustration. Do one of these a favour. Rescue it and give it a life. They all deserve it!
There is the customary rust on the exposed part of the blade, but the working end has been kept dry by the rest of the detritus on the shelf upon which it hid. This rust is the sort that comes from workshop dust which absorbs atmospheric moisture, and just sits and brews. It isn't deep and the working end is not pitted on it's back, only chipped on the bevel. Pitting on the back of the iron at the sharp end can be serious because it makes a durable sharp edge impossible without grinding the necessary length off the blade. They are only hardened for part of their length. A microscopically smooth back is the first step to real sharpness, never mind the bevel! (to begin with anyway...)


The frog is OK, but needs a small adjustment, and that is easy. The blade needs to be supported as low as possible to prevent 'chatter', so the frog should be positioned flush with the slot (presuming the slot is accurately cast). The two holding screws shown need loosening and then the adjusting screw (which is behind the frog inside the area of the blade adjuster) is turned to bring the frog forward or backward as necessary.


Devilish hard to hold a straight edge to a plane in front of a light source while photographing, at least without a tripod. But this one shows the lack of flatness on the sole or base of the tool. In fact this is the flattest of all the planes I've tuned over the years and that includes dozens of units from England and USA and Australia. This one is Australian, so it was cheaper than comparable English or American planes (we have a cultural cringe here, always fearing that we aren't good enough) but the flatness of this was brilliant. Most tools I find are high at the ends, where the casting has shrunk less than the rest, under the thickening at the the totes. This one has a high spot near the middle and a slight rise at the ends, but will be easily sorted.
So the restoration began by removing the handles, sanding them by hand (180) to remove loose varnish, and then giving them three coats of varnish. If it had been necessary to remove all the old varnish I may have been tempted to oil them, but these are working handles, not fashion statements, so I chose to allow the totes to hold some of the patina of age. I used a satin varnish rather than gloss.

Removing any rust is best done after a bit of a scrub with fine (000) steel wool to remove loose stuff, but if you are using a 'rust converter' product like I did on this one, it is best to leave some rust on before coating or the conversion won't work. Badly rusted items can also be treated in a bath of vinegar with amazing results. I like the rust converter on the brass parts too, it cleans them nicely and emphasises the colour of the copper within the brass. I leave them un-polished.

Above, a dip in rust converter for the brass bits. Below, irons coated in the same stuff. Eventually the brown bits go grey and change their chemistry.

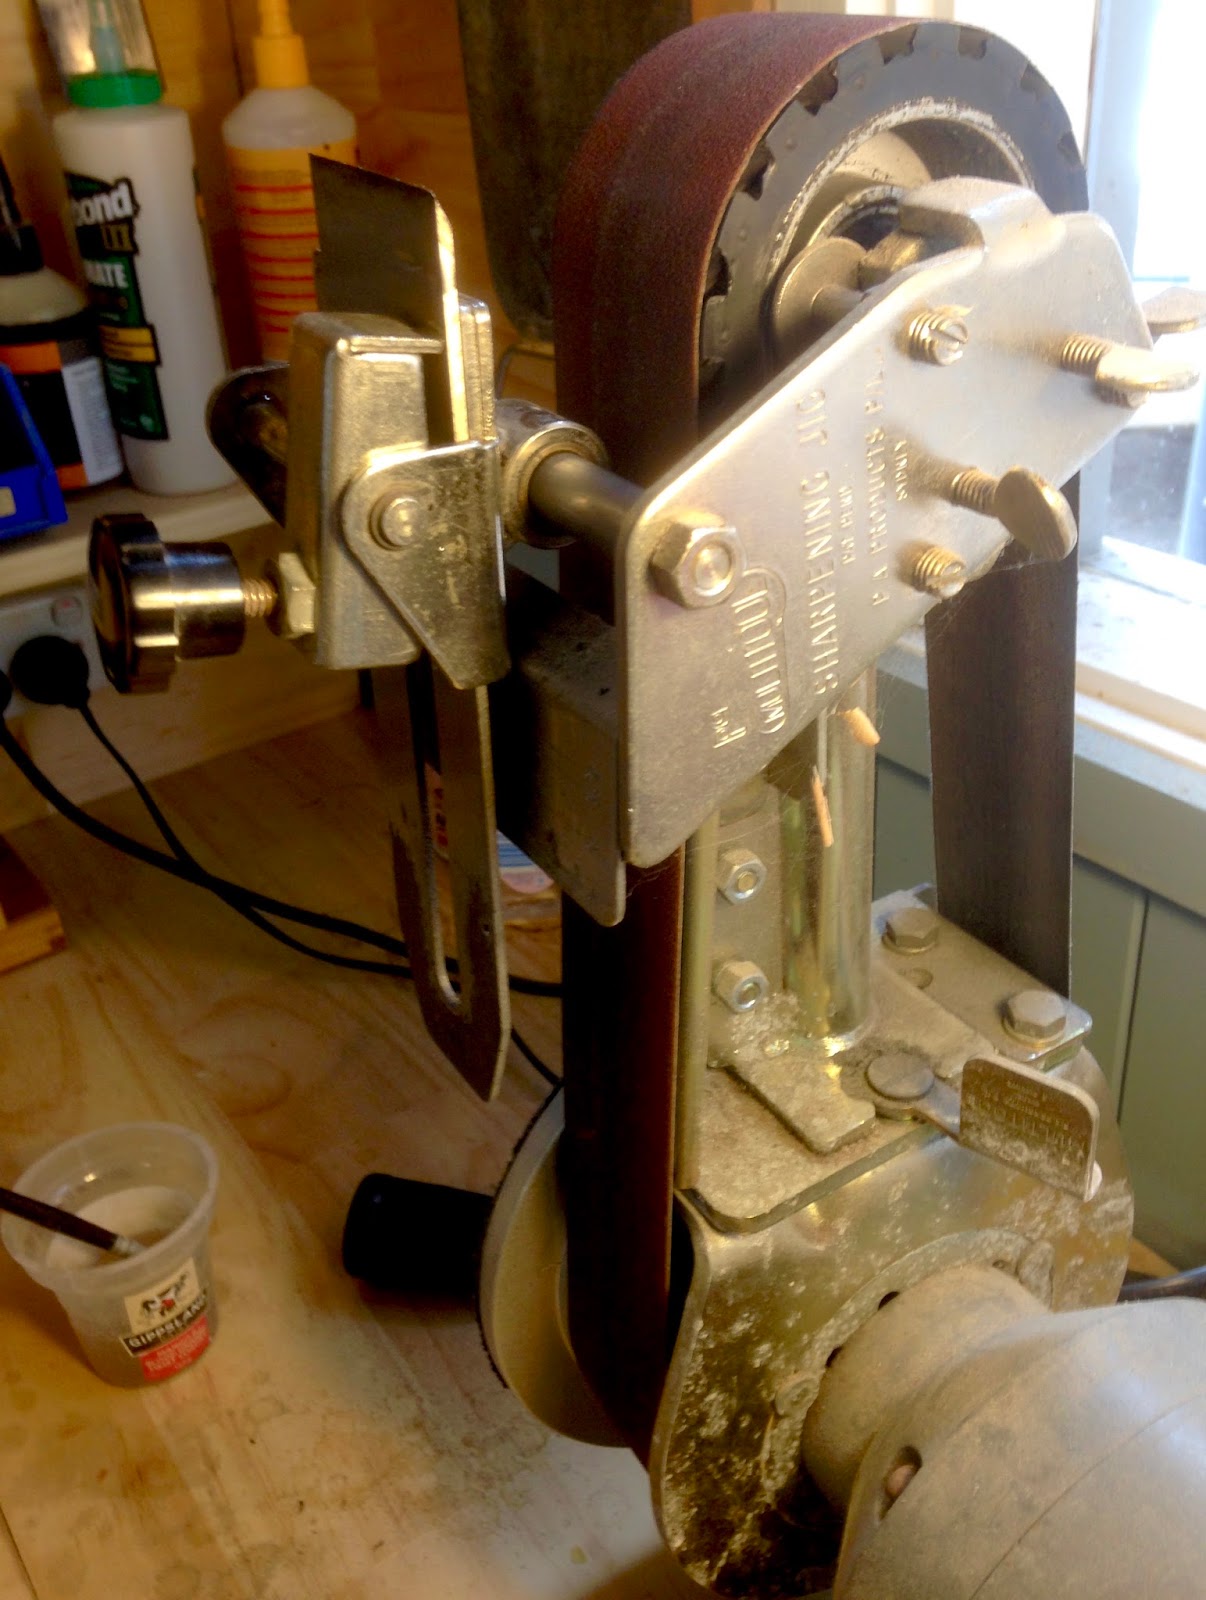
Above, my Abbot and Ashby linishing attachment for a grinder. The blade is held by a slide on pivot, so the blade can be offered to the belt from side to side without altering the angle. A small container of water and a brush is essential to stop the tip from overheating, turning blue and ruining your day.
Below, after a short grind, the depth of the damage to the blade edge became apparent. The grind will need to take off everything beyond the deepest chip. Note the concave grind shape from the wheel. It allows a secondary bevel to be added to the tip with a honing guide, and this will be a narrow flat band which is easily re-honed without having to take off a lot of material.

Below, the blade is now hollow ground with a fairly consistent burr all along the edge. That burr (serrated rather than smooth partly because of the machining grooves left on the back from the factory) will be removed on the water stones when the back is honed and the front secondary bevel is formed. The secondary bevel is essential for maintaining the edge without needing to grind every time the blade dulls.

Below, the back of the iron after some initial abrasion with a 300 water stone. Wet and dry paper on glass could also be used. Note the grinding lines up and down the blade- this was the machine finish at the factory. It is best to flatten the working part of the blade, abrading the grooves until about 2mm is groove-less at the tip. Don't be tempted to tilt the blade up to get there sooner, as that will have other consequences, including making it harder to hone the angle you want predictably. After the 300 stone I went up through finer stones to about 4000, and that gives a mirror shine to the surface. I finish the back to the same number grit as I do for the secondary bevel on the front.

Sharpening in general probably needs a separate post, although there are some annotated pics about honing on the Metung Violin Maker's Workshop Facebook page.

Above and below, I discovered some time ago, that the platen on my linisher/sander was actually remarkably flat, and I have been able to use it on plane soles with as much success as I used to have on glass with W&D, but of course much faster. The pic above shows the surface nearly done except for that little area under the rear tote. That would be good enough for most jobs because of the flatness extending to the edge of the rear back, or the surface could be worked for longer to get it just right.

The first ribbon cut with the assembled plane is probably the only good ribbon it has ever cut, and will be the first of many.