There are dozens of reasons why a trailered boat shouldn't wear antifouling below the waterline, and I have chosen to do it anyway now I'm in a situation where I can sail often because the boat can spend weeks in the water if I wish. The bliss of this is not lost on me.
Whereas before we moved here a sailing day needed to be chosen carefully, planned for and then travelled to- with the possibility that the morning could be wasted if the weather was ordinary (or worse)- now if I get the weather wrong, I can be much more philosophical about it, and maybe treat myself to some uncomfortable lessons in the wrong conditions, and then take my little tail home for comfort, without getting in the car.
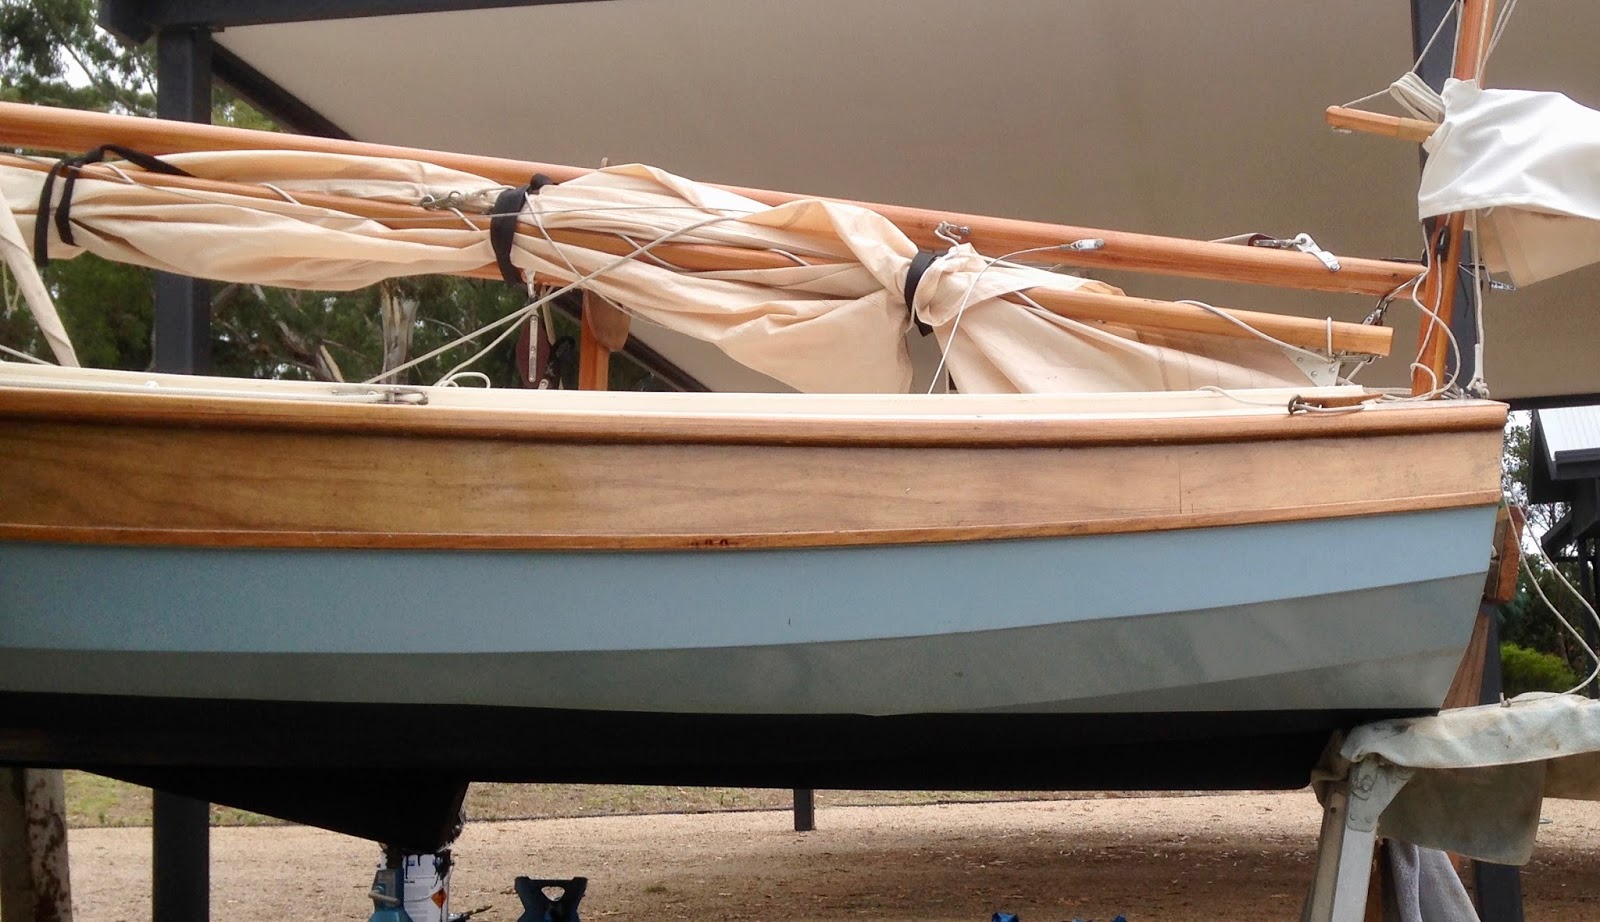
So she has had the business- black antifouling below the waterline after I scraped the growth from her bottom again (not a comfortable thing to do on a bottom that is so horizontal, and so close to the ground). The pleasure for me this time was to figure out a way of getting Annie off her trailer without lifting anything. This was all achieved with a few clamps, a pair of saw horses, a few boards and a horizontal platform.

The trick is to lower the trailer dolly wheel, which lifts the stern. Slide in an angled support just under the stern, then raise the dolly again- on a block of wood if necessary- then place some support across the front (a 4 x 2 on edge, or bigger) on saw horses spread wide enough to clear the trailer wheels. Lower the dolly and then move the trailer forward, under the beam and out of the way. For this trailer anyway, the beds were now well clear of the hull. Your back is spared, but do be careful if you try this. I always add a couple of fail-safe back-up braces and supports before working under the boat.

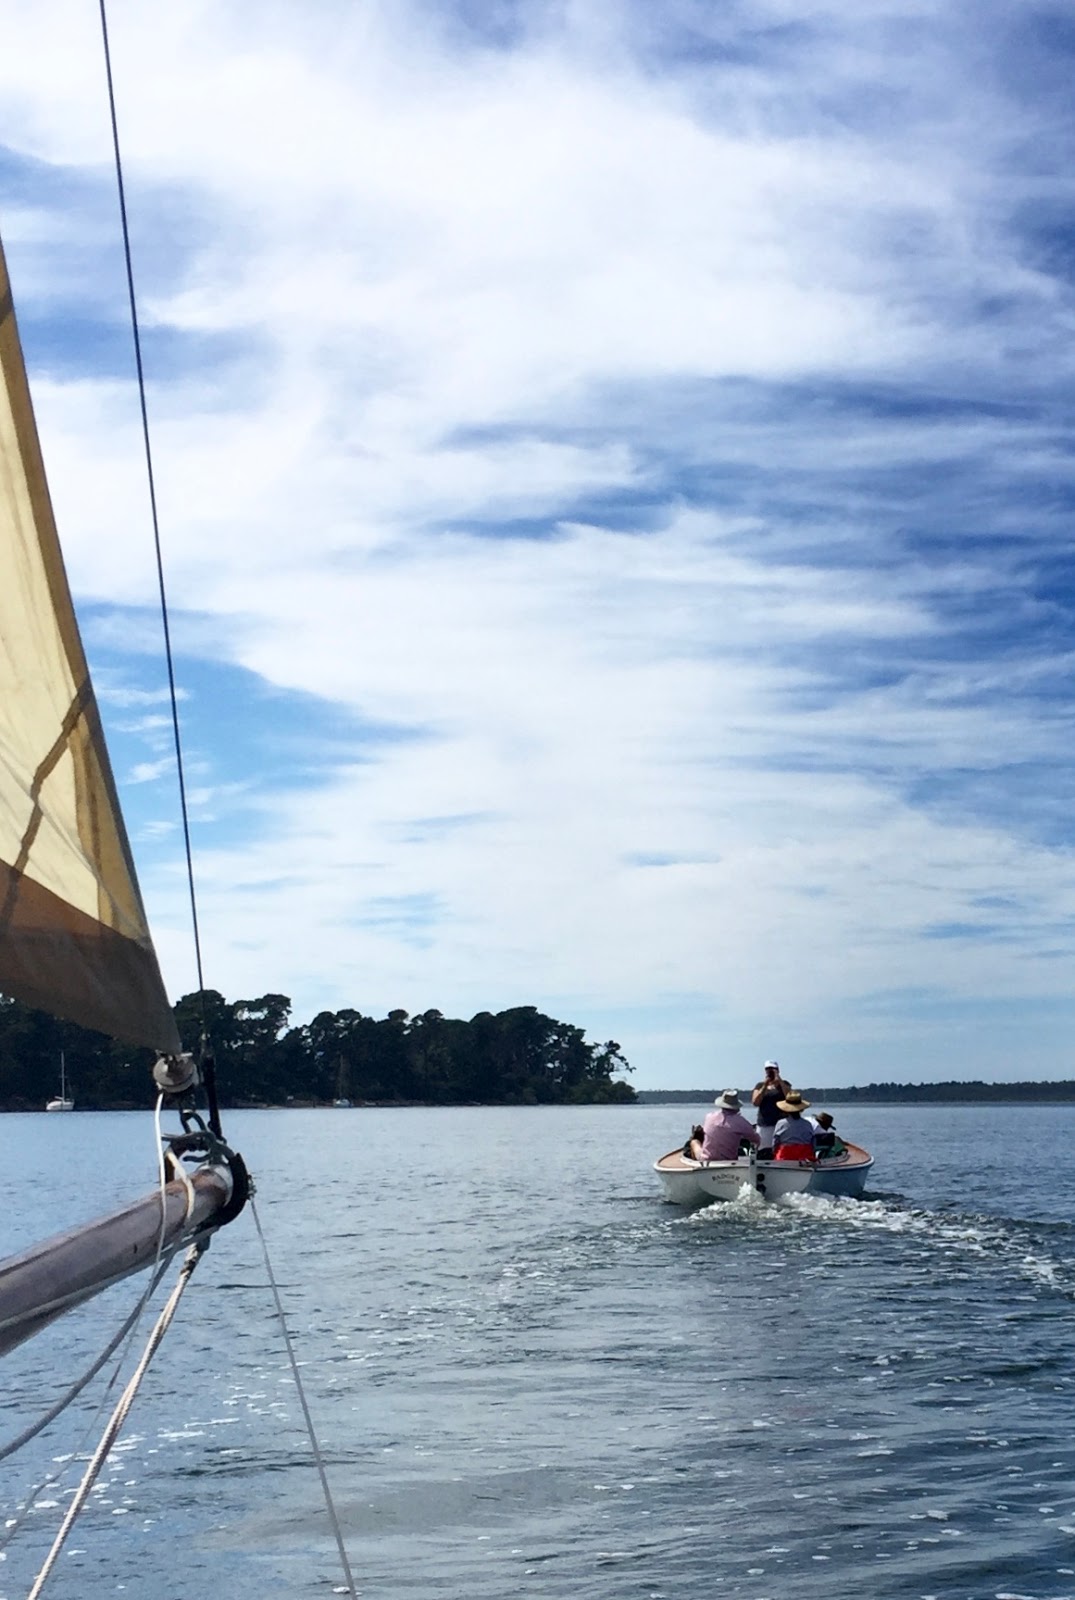
Last time I went out the wind was up and threatening but the forecast was for it to ease so I had an interesting sail under mizzen and jib for an hour or so, and was quite pleased with her handling and tacking in those conditions. The wind then turned and made a part of the bay very rough and messy and another part more sheltered, so I raised the main without a reef and had a great couple of hours reaching back and forth over a longish gap between Bell Point and Shaving Point in a fresh wind on a rolling swell. To keep the boat level and just because it felt good, I sat out and sheeted in for an exciting ride.
The Navigator can usually be sailed without hiking out (especially if sail is shortened to suit conditions) and so the extension is a discretionary tool really....but I like it. This was my longest period using the tiller extension and it worked a treat, but my sweaty palms eventually began to struggle a bit on the bare wood.


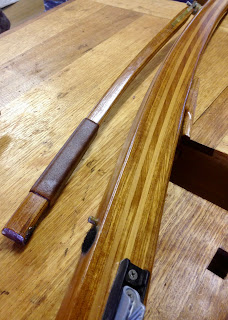
Because the extension often needs to be out of service I designed it to sit low over the curve of the tiller so as not to get in the way, and it sits on a little locating pin so as to stay put. Both the tiller and extension flair out slightly towards the ends and this makes gripping easy, but I've added some leather on the extension just to make it less slippery. I considered thin line, servings, turks head knot work etc and couldn't find a rope work solution that fit my purpose, but finally settled on leather because this is the traditional technique I used to replace the leather grip on violin etc bows. It feels good, looks restrained and doesn't add much to the bulkiness of the rod. The edges are rounded over so sit tight on the timber by means of a cut bevel on all four edges. This is done with a razor sharp chisel on the inside face of the leather. The leather was then treated with a product called Dubbin- used here in the past for treating boots etc without adding colour.