Having Annie at the jetty this week (instead of trailered and covered) has enabled me to fine tune a few things that I used to be in too much of a hurry to worry about. But the details are really sweet- they give rise to pleasant little operations and habits that are almost as therapeutic as sailing....so I thought I'd share a few of the details that went into my boat, especially since the book I wrote about the Navigator didn't feature many finished details of my boat at all. I felt strongly in writing it that the book should be about the design in various hands, not simply mine. It is in the details that your boat becomes an expression of your priorities and methods of operation.
So I offer these thoughts in that context- and with the reminder that there are a few excellent videos and tips about other methods of set-up available online from Joel, navslipjig and others.
Let's start with the pic above. This is all packed up for transport, with a boom crutch at the other end, and here the tabernacle top bolt supports the mast, with the yard and boom under it, sails all still attached. The tabernacle is detailed in my flickr pics (-RHS margin of this blog) Hanging off the cleat is the mizzen mast with it's sail still on too, and it is suspended there for transport by the forestay. It is still attached to the furled jib which is, in turn still attached to the pad eye at the bowsprit. This is incredibly quick to deploy and very compact. The only downside is that the gooseneck maximum height for transport is limited by the height of the tabernacle, but I have it where it stays anyway.
Above is the boom crutch; mast on top, boom below on far side, mizzen near side.

I chose to make a sort of 'push-me-pull-you' to link the CB to the tackle because in this design the top of the board disappears into the case when lowered, and a solid link is really useful in either direction if something gets stuck. The CB case lid can also be removed with two through bolts if necessary, but I never have. Until today, I needed to leave the helm to lower the board if there was forward movement or strong currents because the tackle has a certain braking effect, but a simple line fitted from the front of the wooden member, led back to the CB cleat at the rear of the case has meant that I can raise or lower from the helm.
Not needing to leave the helm has many advantages. Left shows the throat and peak halyards and the topping lift on their way back to cleats on either side of the back of the board case. From the helm, the main can be raised or lowered and the jib unfurled, without leaving the tiller.
Below is a reefing block made from teak over a shop bought nylon sheave, and below that the same method to make one for the rudder downhaul. These are really easy to make and little blocks like this aren't cheap to buy.
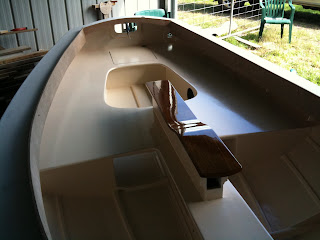
below, the hull was turned (on hay bales) with the main sheet block for purchase. The rest of the pictures are just bits and pieces that give pleasure in the making and in the using. Many of these fittings would be useable on any small craft.
the beginnings of the tiller
all the horn cleats are from Australian hardwood. Of course you don't need to make these things, but they are a pleasure to do if you can make the time to do them. I made a side profile pattern from ply, used it to trace out a number onto a board then cut out the profiles. Knives were used to cut bevels and gradually round them to a pleasant shape, but you could use chisels or rasps.
tiller and extension from teak and cypress
making the tiller extension swivel joint from sheet brass
Always a happy boat for me


No comments:
Post a Comment