Imagine a time before the internet, before TV even. No mobiles, no digitals, no videos, and not every one had a radio.
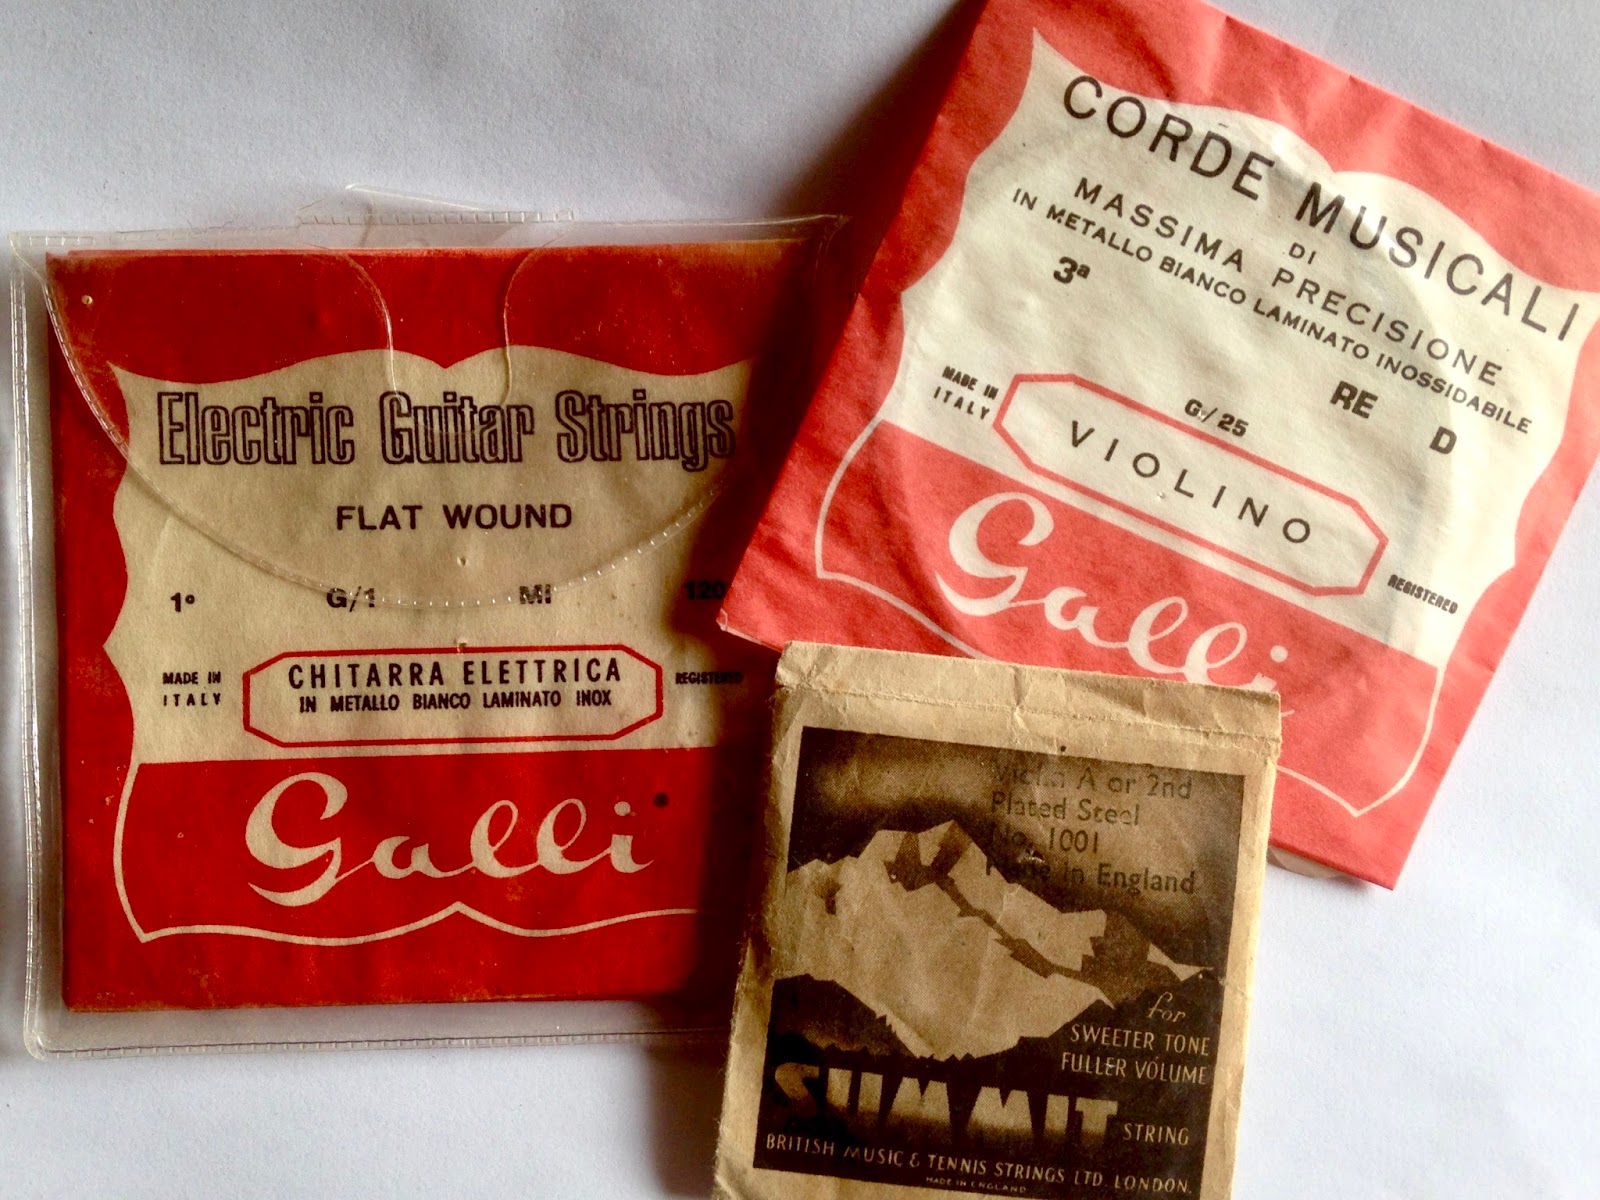
Over the years as I restored old violins for people or bought old instruments to restore and sell, I somehow accumulated a bag full of old strings and fittings and rosins from ancient violin cases and never had the heart to throw them out.
Nor did I have a plan as to what I'd do with them. I find them very beautiful, these little treasures bought with Pounds, Shillings and Pence, kept as spares in violin cases as preparation for an emergency change of strings. These are packages that crinkle and make special proprietary noises when they are opened, with evocative images on the front promising tone, atmosphere and quality sometimes stamped with a traditional wax seal.
Some of these were bought and sold in the 19th Century. In Australia these were often the entertainment ammunition for families and communities, often played by men, especially if women had access to a piano. I can't imagine how many times I was shown 'Grand Pa's violin' when the case was opened.
For those fortunate enough, the piano was the axis around which many country communities gelled, the background to singing, dancing, romances and gossip, political discussions and rivalry. Sometimes this was a church-based thing, but often just families and neighbours, and the violins came to where the piano lived. Although also important in city communities, it was arguably less so, given greater access to entertainment in the towns and on the other hand, the nature of rural work and the distances involved in getting together.
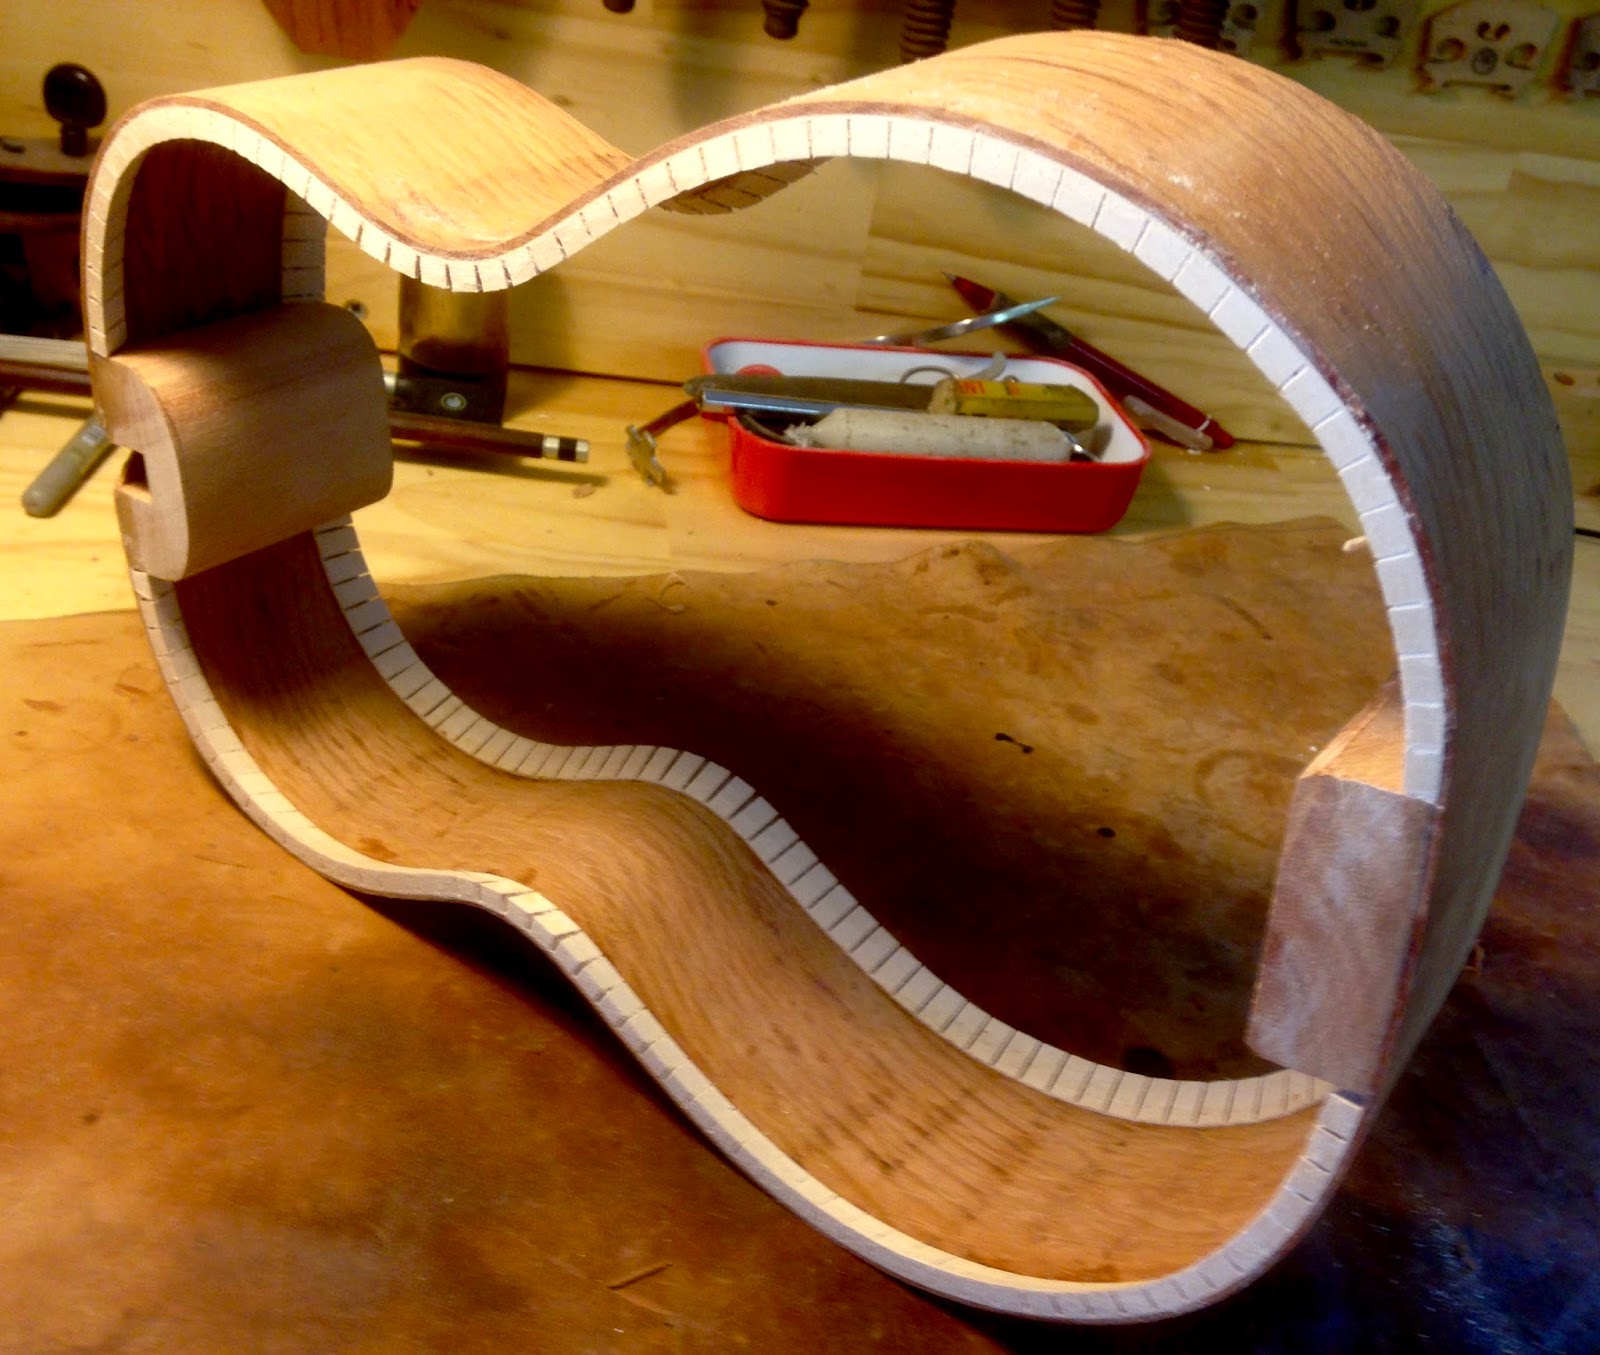
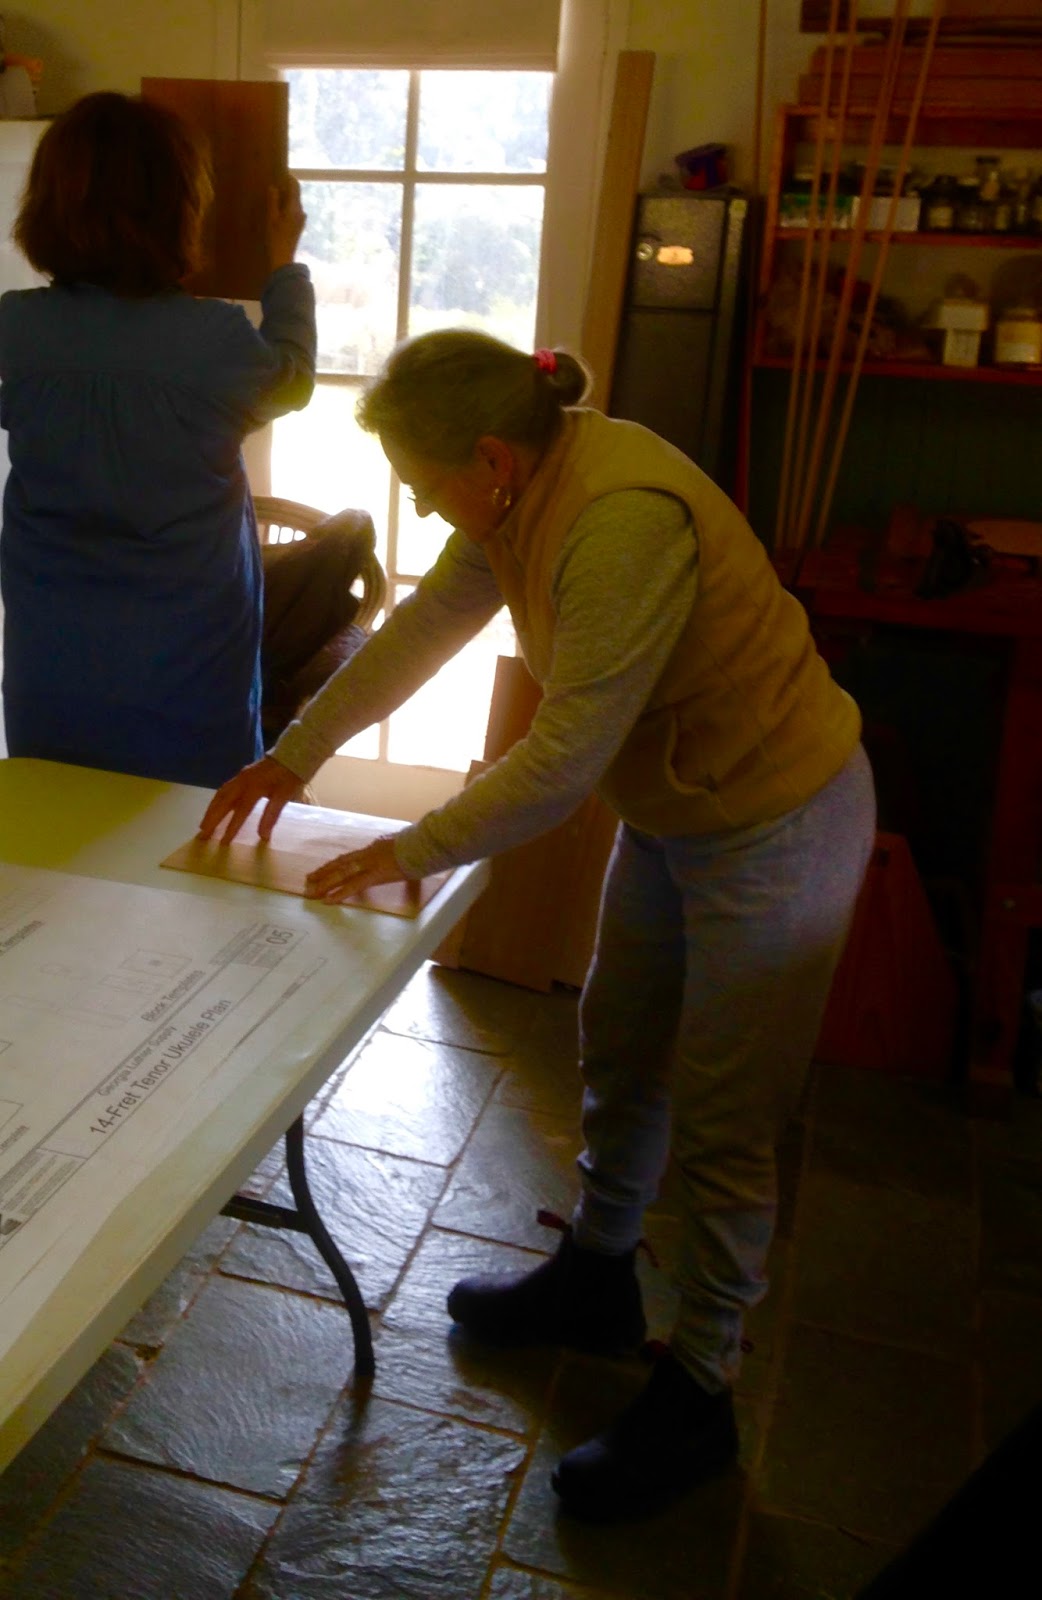
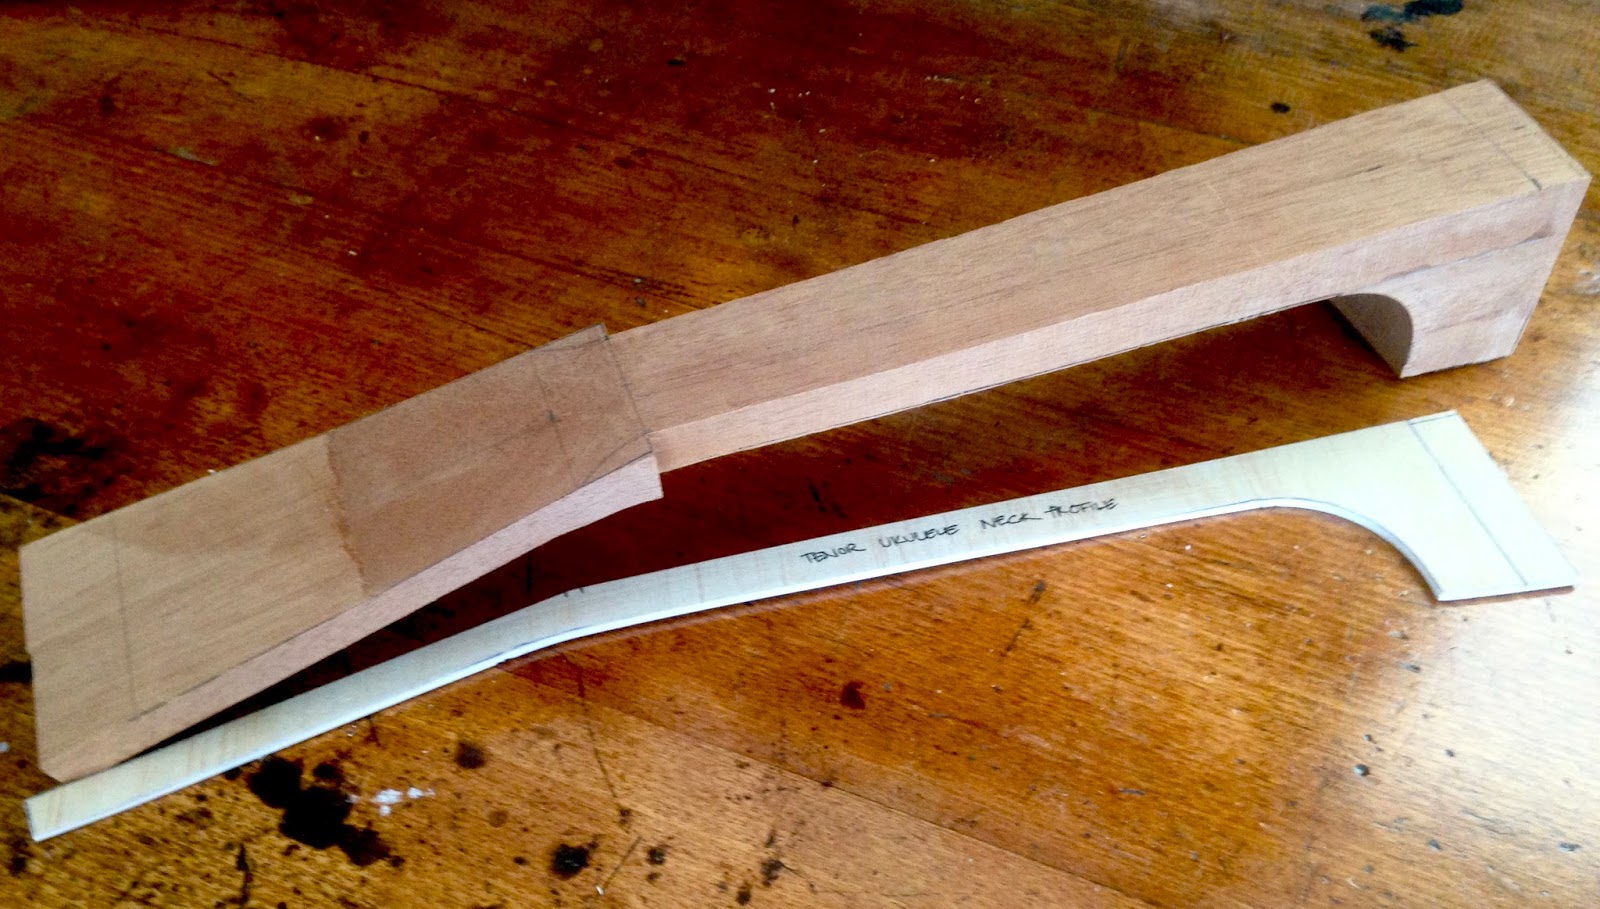
Some recent pictures of work being done by the workshop group. Sharing tools, ideas and techniques with this collection of enthusiasts is an on-going joy.
A low lamp tells a lot about shape by casting strong shadows across a form.
we have inside and outside holds for different processes
We have a little group that meets in my workshop once a week, and that group is part of a bigger group on Facebook, most of whom just want to see some real time work happening in pictures, and other posts about instrument making and tool use. (on Facebook; Metung Violin Maker's Workshop)
At the moment we have half a dozen tenor ukuleles being made. The uke has a lot in common with an acoustic guitar, without the acreage, and the option of fewer decorative details. But it is also a fantastic vehicle for learning some advanced tool skills including measuring, planing, carving, bending and tuning. At the end you have a very approachable, portable and social instrument.
This process is reason enough in and of itself, in answer to the question 'Why build a uke when you can buy one for twenty bucks?'
PLANE SCAT.
Why would you bother?
Let's put aside the obvious answers about sound quality and craftsmanship for the moment and look at these two pictures. The first is of Susan's pile of shavings and the second is of Daniels. They (like everyone in the group) both achieved several things today, but the 'plane scat' pictured here tells a really wonderful story if you know how to look at it.
Susan is planing slightly curly, hard and rather unforgiving blackwood and has used a plane which she was advised to use as if she was slicing tomatoes, rather than chopping them. So in practise, the plane is angled obliquely to the cut- or explained another way, the blade goes forward while the plane is angled at about 45 degrees to the side, and the ribbons produced are like DNA spirals. The grain is approached at an angle and the blade bites gradually.
She nailed it, and did so in quick time. Approaching wood with a cutting tool will be done differently for every piece, depending on grain, hardness, surface flaws and the size of the plane relative to the area that needs flattening.
Daniel's wood was a completely different proposition and he was able to flatten a great area and depth very quickly, confidently and energetically, taking thicker, front-on swathes from the softer, straighter-grained timber. His ribbons are like scrolls more than spirals.
The point is that to learn this kind of sensitivity to tools and materials is simply exquisite in my humble opinion; whatever the object is at the end, the interaction with these things is at the very heart of the connection between our eyes, ears, minds and hands- not to mention the connection to beautiful materials.
All of this could be done by machine, but none of these experiences can be replicated on a machine.
My OM steel string guitar is having it's truss rod adjusted for the first time since I finished the instrument in 2011. I was finding the strings a bit high, and on applying the straight-edge test I found that since moving here the neck had crept a little towards a bow. This is a normal periodic adaption by the wood to changes in humidity. Adjustment done I re-tensioned the G and D strings and promptly broke the G- and of course in the pile of strings under the bench, the only steel string I don't have is a G. Never mind, the action is much better, and I'm just surprised that I let the neck get away with this, unnoticed.
There are some violins and a viola on the bench too. First time in a couple of years. A very persistent friend of a friend (over a period of a year) wore me down to an undertaking to restore three or four instruments for her. Weird feeling, because I do miss the contemplative work, but not the tasks of running a business.
But the point of this post is to include a small slideshow of the build of this instrument. Of all the dozens of instruments that I made over twenty five years, this is the only one that I made for me.
The label 'harp making' in this blog has more than a dozen posts about the making of this particular harp. I wanted to bring it all together for the family that commissioned the instrument, and for me to have a simple record of the process. While I'm spending time on house renovations I find it is a good opportunity to reorganise and consolidate my record of things that have been enjoyable- particularly since others have expressed pleasure at seeing the process unfold.
It often shows multiple images so I do recommend a full screen viewing.
The last post about my former self mentioned that some old images of instruments were lost, but now some are found. There may not be a particular interest in them, but like in that last post, I include them to keep as a digital record of a particular mission that I was on at the time.
When beginning with violin family instruments I made and used a particular varnishing system well-known to those luthiers who like to create their own finishes. It was a spirit based system from a recipe dating back to the early 1700's, and it used several gums, oils and lacs. It had the advantage of being quick to dry and fairly hard wearing (in the absence of alcohol) and was commercially useful, but the ground under the varnish never looked right.
By about 2002 I was becoming very interested in the performance of the coatings as they combined with the engineering and thicknessing of the plates, because it was obvious that if you go to a lot of trouble to get a certain set of tap tones from the plates, and if the structure of the arches and the thicknesses are all managed to produce a certain sound then the coatings that go over the top of all that will need to be considered too, in their capacity to help or hinder vibrations.
This led to a lot of research into the very old ways of doing things, and rather than looking for a 'secret' (which everyone seems to think is at the bottom of great instrument sound) I read up on the trades and traditions of the guild workers who had such an influence all over Italy- The Byzantine Greeks, who revolutionised almost all trade work before the renaissance. I'm not going to try to summarise that whole story, but it became obvious that many trades shared a set of procedures in the application of coatings, including furniture makers, guilders, carriage builders, church fitters, instrument makers amongst others.
One of the reasons that there was commonality amongst them was fashion. The fashion for a gold appearance either as a finish, or as a reflective surface under a translucent finish. This is the quality that underlies the great Italian violin family masterpieces. The effect is a consequence of practical considerations as well as visual ones, and by identifying the common materials used in the ground layer (the solid base upon which the coloured layers are placed) it was possible to create a more golden, sparkly, subtle, impossible to photograph sensibly without looking like a complete nutter, and dependable surface that could be relied upon to be a consistent contributor to stiffness in the vibrating plates (the back and the belly)
The down side was that this stuff needed to be built into oil based coatings, and I ended up applying them with thumbs rather than a brush, and they took a long time to dry. I had to make a UV drying cupboard, but the system still took as long to do as it took to build the instrument. But it did look lovely under lighting from different directions....and these pics were my attempts to capture on film what excited my eyes so much, but of course they end up just looking like a bunch of violins.
The conception of a fine instrument is much more than an accurate outline. A beautiful varnish is more than a pleasant colour. Successful arching can only function in a direct relationship to the thicknessing and the varnish. A well cut f hole is conceived with reference to arch, outline, body length, placement and it's effect on the resonant frequencies of the corpus. Masterful work holds these things and others in harmonic balance.
A fellow, now deceased, called Koen Padding was a revelatory figure in my journey and he supplied products that made it all possible. A wonderful mind now remembered in this story.
Some of my stash of very old hand cut and air dried Bosnian maple. Just gorgeous...These are for one-piece backs that you will spot in a couple of the violins pictured above.
I found this little slideshow originally made around 2005 I think (although I have shortened it in case there are people out there who don't like looking at paint drying)....but if you do, then try it on a big screen so you can become bored in real style.